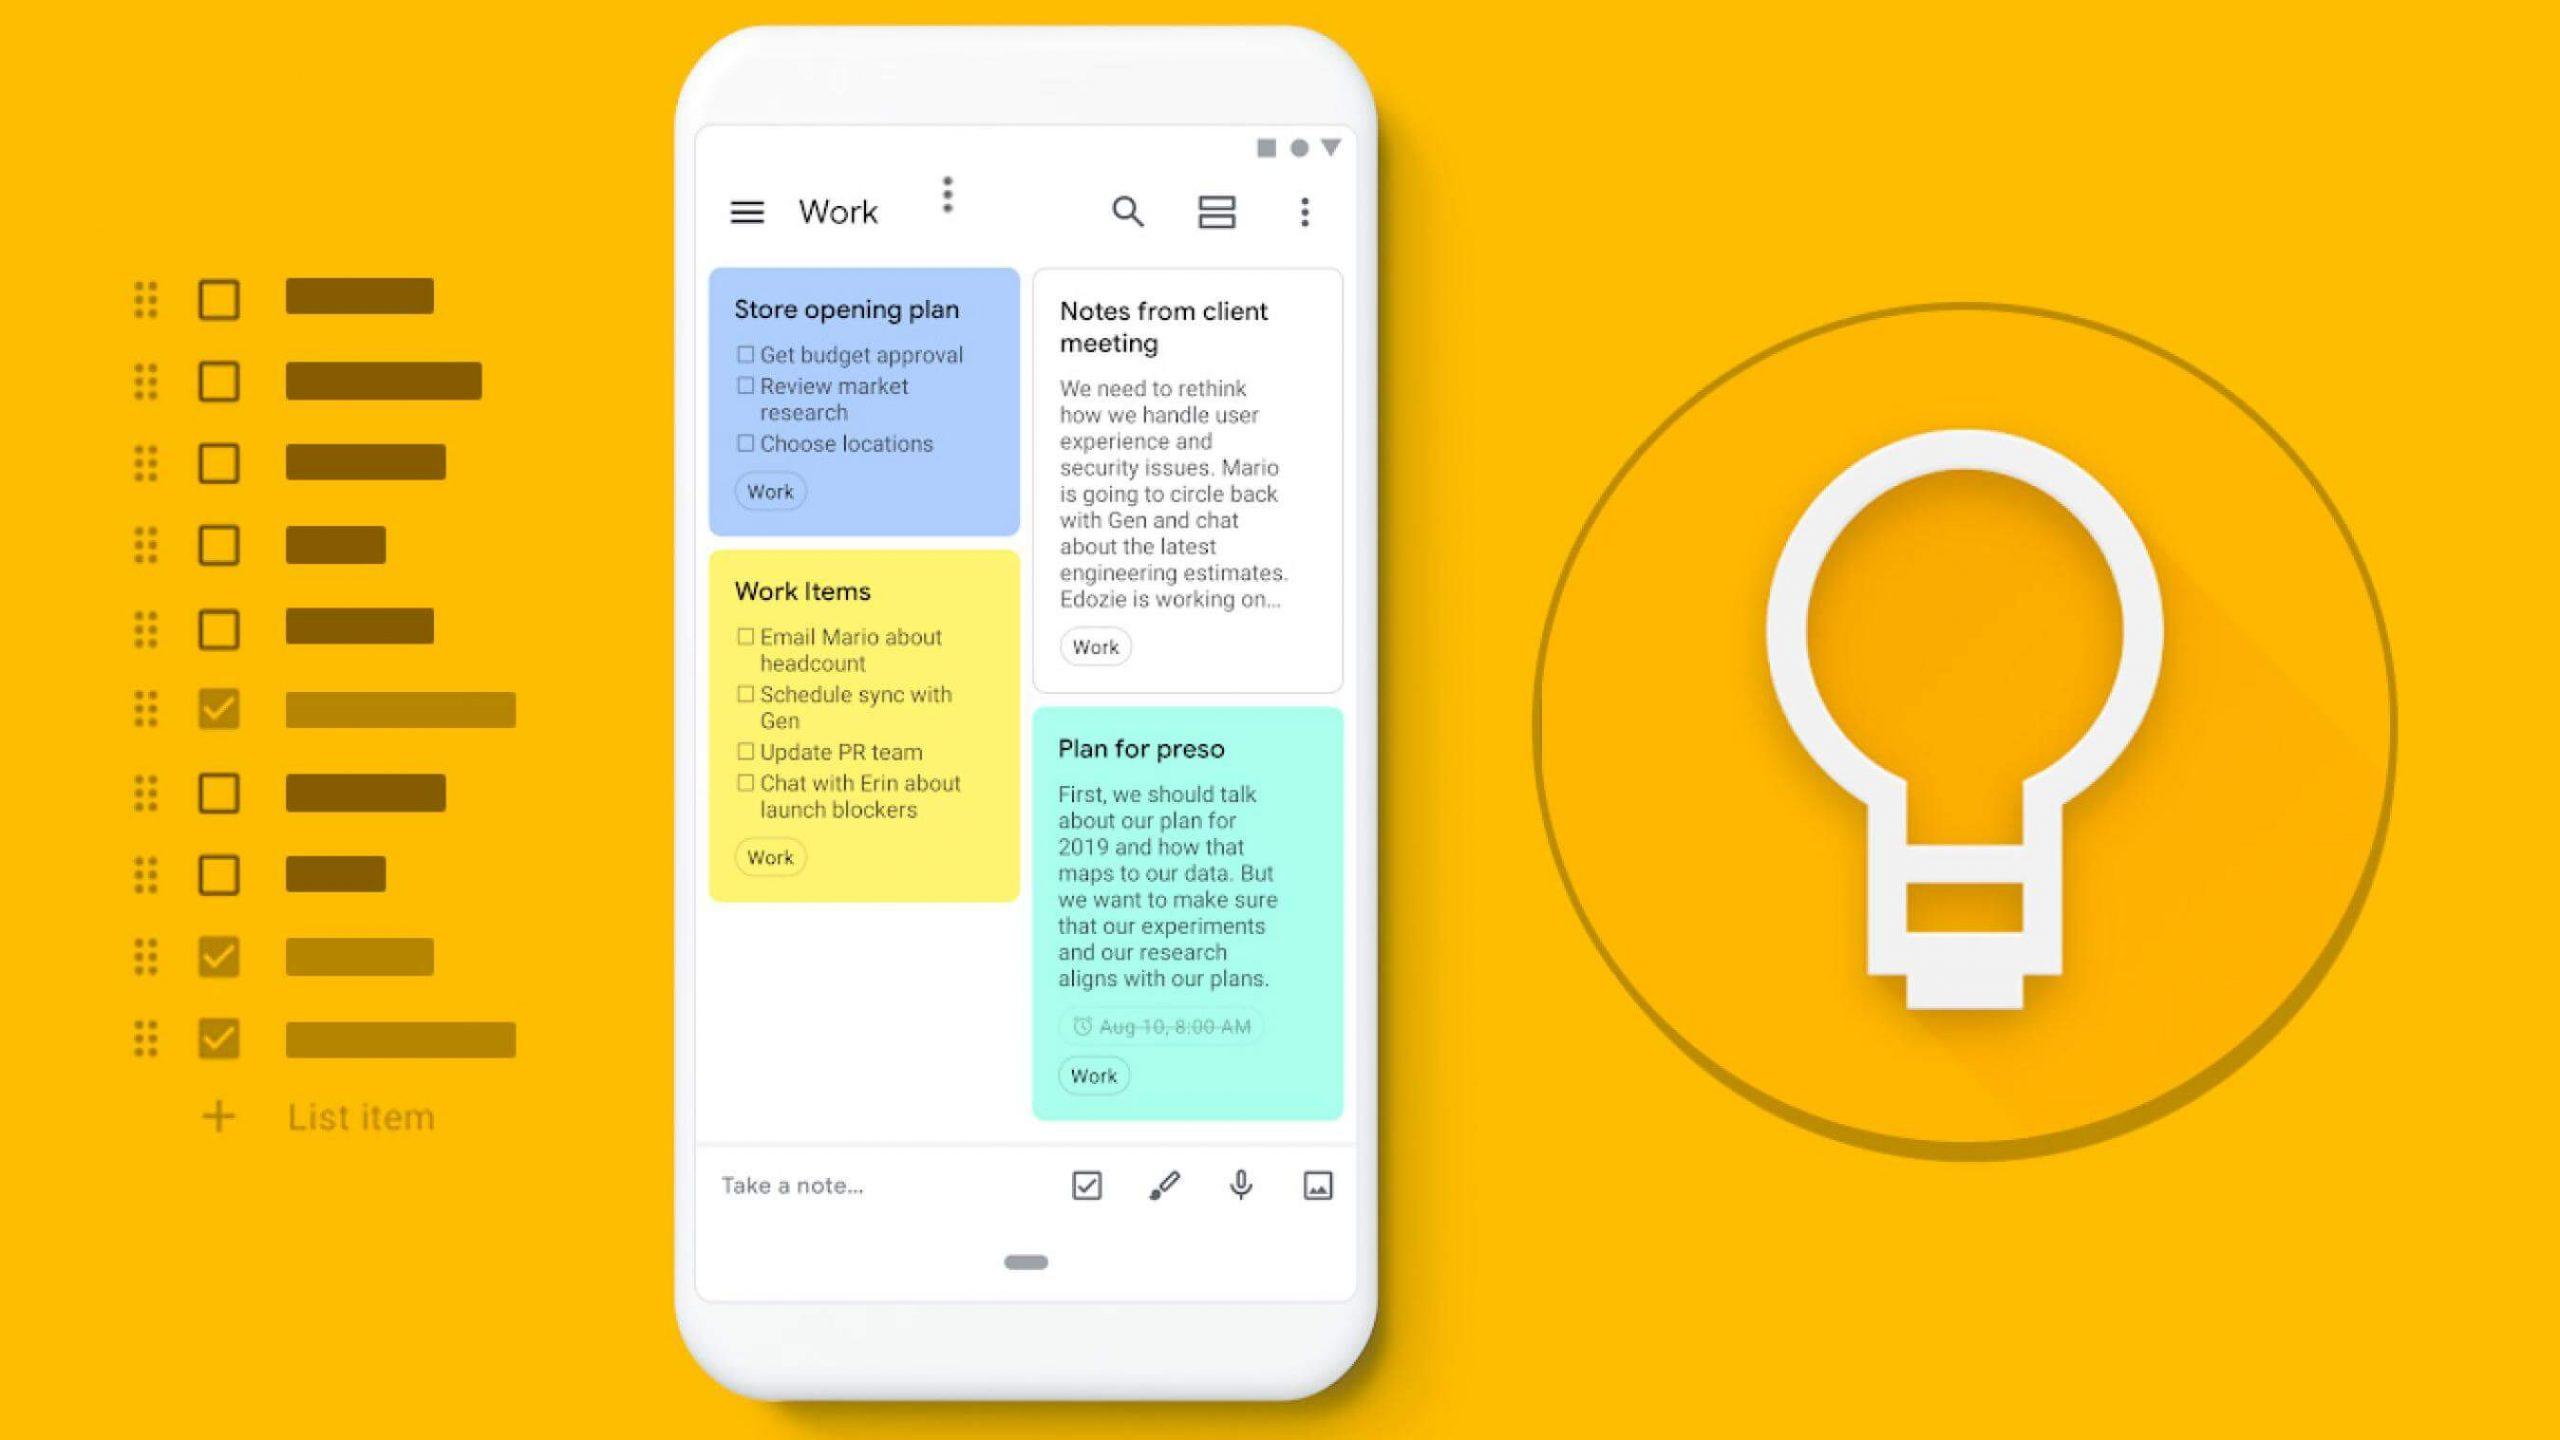
 Google Keep is one of several little known diamonds in Google’s suite of applications. Keep makes organising information a very extremely easy task. At Hapaweb many of our staff members use Google to make notes at meetings and as a digital to-do-list. Like all other Google Apps, Keeps is cross-platform and can be used on any screen size. With Keep, you can easily jot down ideas or share to-dos with co-workers. If you have not used Keep, here a few tips by Mario Anima, the Product Manager of Google Keep to help you get the best of out it.
1. Record voice notes.
For recording thoughts on the go, you can record voice memos within Google Keep on your Android or iOS device. Open up the Keep mobile app, click on the microphone icon at the bottom right of your screen and record your message. When you’re done talking, the recording will automatically end and a new screen will pop up with the text of your message and an audio file.
Click on “title” at the top of your audio file and name your note. Your note is automatically synced with the web app, too, so you can access it on your desktop.
2. Transcribe notes from pictures.
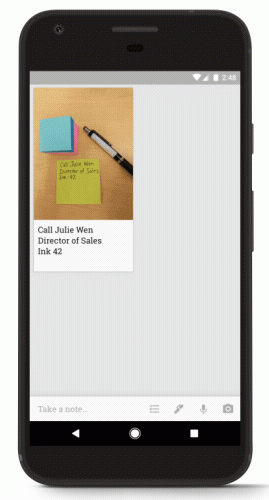
Sometimes a picture is worth a thousand words. Using Optical Character Recognition (OCR), Keep can transcribe text from pictures for you, so you don’t have to worry about typing up notes from a meeting or whiteboard session (shameless plug: you can also use Jamboard for that). Just take a photo, select “Grab Image Text” and Keep will transcribe your note.
3. Create drawings and even search handwritten notes.
You can sketch images in Keep. Select the pen icon at the bottom of your mobile screen and a bunch of options will appear. Play with colors, shades and more. Once you’re finished with your drawing, you can share it right away with coworkers. Or, you can come back to handwritten memos later by searching for what you wrote. Speaking of search, you can also find images by searching for words contained within them. Say you snap a photo from a whiteboard and the image contains the word “Proposal.” Just search Keep for “proposal” and your image will appear.
4. Drag and drop notes from Keep into Google Docs.
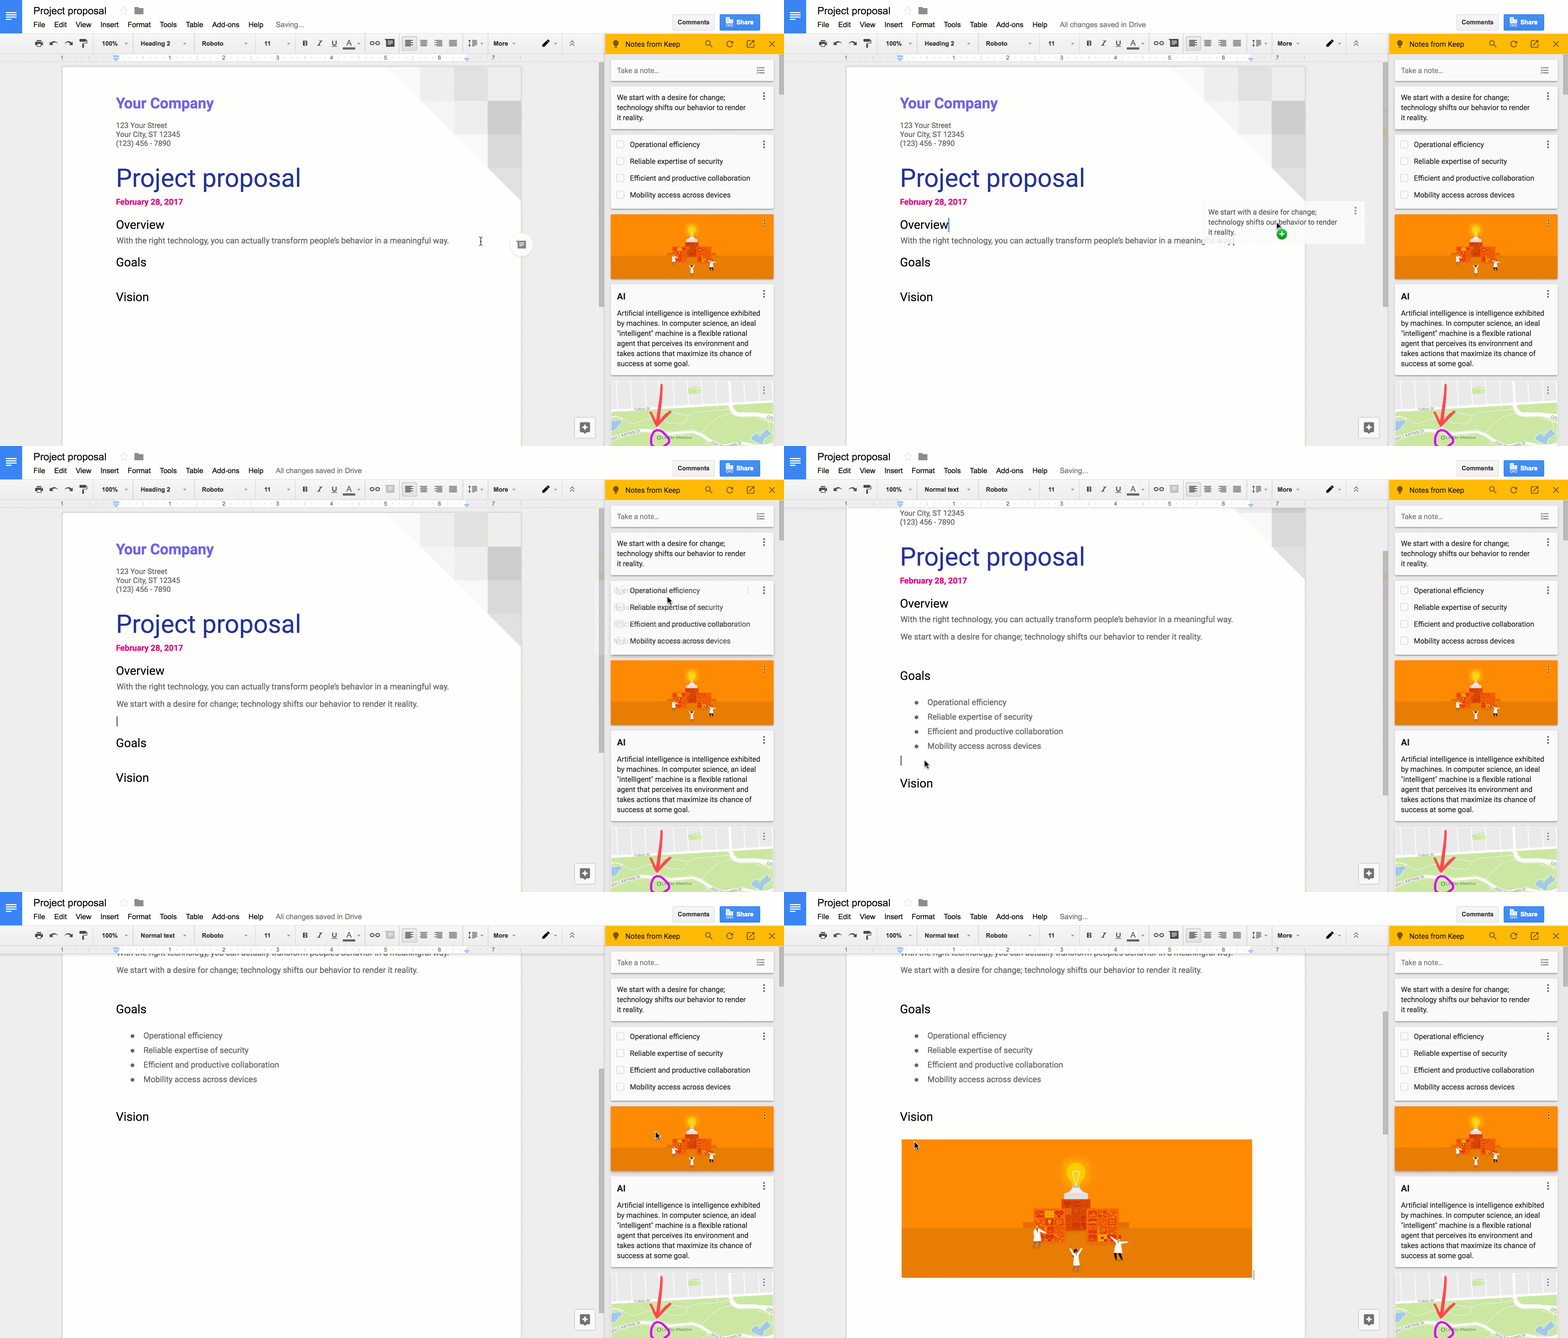 Now you can use Keep directly within Docs—take notes you’ve created in Keep and drag them into client proposals and more.
If you’re in a Doc: click “Tools” on the menu bar, and then “Keep Notepad.” A sidebar will pop up with all of your note options. You can scroll through the list or use the search bar to jump right to the note you need. Once you’ve found it, drag-and-drop the note into your doc.
If you’re in the Keep app: select the note you want to send, click the three dots menu and click “Copy to Google Doc.” You can also create notes in the Keep notepad while viewing a Doc. One bonus is that when you create a note in Docs, Keep creates a source backlink—so you can access the note in Keep and it will link back to the source document where the note was created.
5. Use the Chrome Extension.
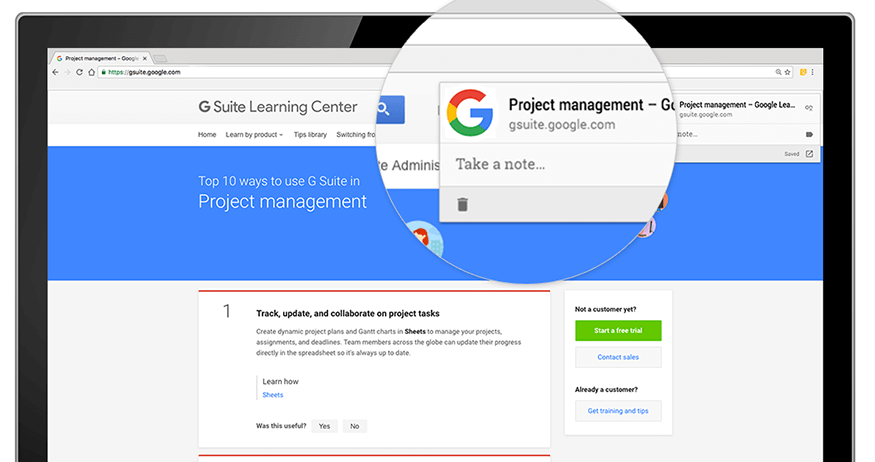 Create notes while you browse the web by downloading the Chrome Extension. One cool thing is that when you create a note using the extension, it saves the site URL with it. So if you browse back to that same URL, the extension will show your note in context.
6. Send notes from Keep to other apps you use.
Some teams save content from other messaging or social media apps in Keep to reference later. Or, vice versa, you might use Keep to draft emails or social media posts on-the-go. Click on the three dots in the bottom right corner of your Keep app, select “send” and choose the app you want to share your note with.
7. Color-code or label your notes to find them quicker.
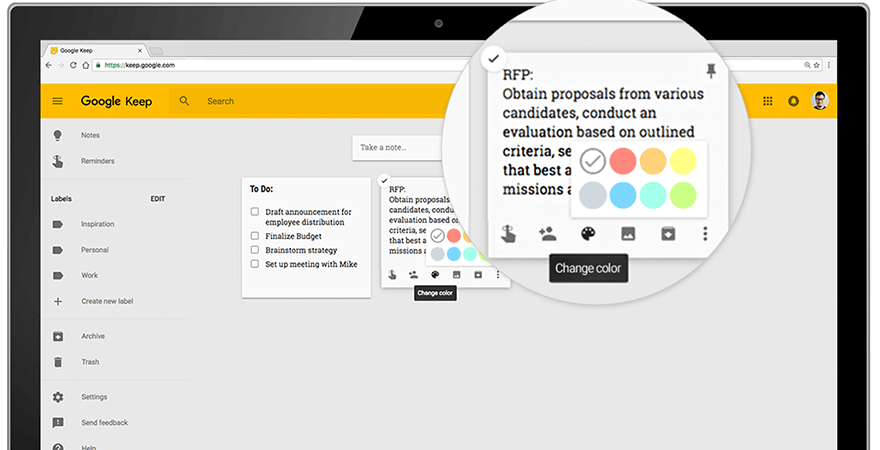 To organize your notes by colour-coding them in Keep, at the bottom of a Keep note, select the three dots menu and choose from several colours to help you quickly identify a note. You might consider colour-coding by task or deadline. If you’re working on your desktop, you can also use the Category Tabs for Google Keep Extension in Chrome to assign category names by colour. It will look like this:
You can also add labels to your notes. Another way to locate your information in Keep is to add and create labels using #hashtags. When you create a note in the Keep app, you can type #label-name and Keep will prompt you to either apply a label if it already exists or create one if it doesn’t. It’s a pretty handy shortcut.
8. Set reminders for yourself.
Notes matter only if you can execute on what your record. Keep lets you set up reminders which can help.
Select a note and click the finger icon at the top right of your screen in Keep (it has a string on it). When you do that, a pop-up window will give you options to set reminders. The great thing about this is that these reminders will alert you in other Google tools, like Calendar, Chrome or on your Android device.
Note: make sure you have Reminders enabled inside your Calendar app in order to see them. You can check out how to do that on our Help Center under the “Don’t see your Reminder” or “Switch between Tasks and Reminders” section.

