In earlier posts, we considered how to add an SPF record and a DKIM record to your Google G Suite setup to prevent email spam and fraud. One other key record to add is DMARC. Setting up DMARC prevents spammers from forging the “From” address of your email messages and also defines the action to take on suspicious incoming messages.
Google recommends that you add DMARC to G Suite setup. If you use G Suite, you can check the state of your DMARC configuration using Google Toolbox. You need to set up an SPF record and a DKIM record before you set up DMARC.
Setting DMARC Record for G Suite
How you set up DNS records will depend on your web hosting service, so you may have to contact your web host to get details about that. If you are using CPanel, you can implement the following steps.
Login to your CPanel account and under DOMAINS click on “Zone Editor” option.

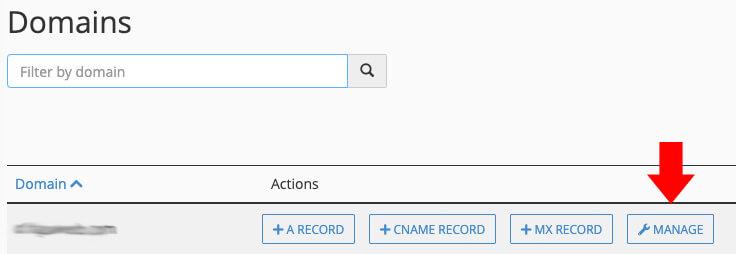
Next click on “MANAGE”

Next click on TXT (blue arrow). In the resulting page, Click on ADD RECORD (green arrow). Then click on the ADD TXT RECORD button (red arrow).

You’ll then see a small form like this:

Into the “Name” field, paste _dmarc.yourdomanname.com. Change “yourdomainname.com to your actual domain.
In the “TTL” (meaning “time to live”) field, you can basically type any number, but a common one to use is “14400”. (This just tells computers around the world how long—that is, how many seconds—to store this information before checking that it is still current.)
From the drop-down list, ensure it is “TXT”.
Into the “Address” field, paste v=DMARC1; p=quarantine; rua=mailto:dmarc-reports@yourdomainname.com; pct=90; sp=none .Change “yourdomainname.com to your actual domain.
Now click the “Add Record” button, and you’re done! You have now added an SPF record for your domain. Use Google Toolbox to confirm the DMARCsetup.
OTHER SECURITY MEASURES
Apart from DMARC it is important that you also set up SPF and DKIM. This post shows how to add an SPF record and this details how to add a DKIM record.


